Akia is a guest communication platform for SMS and email messaging, automations, AI chat and marketing. Properties using Akia can send messages to their guests automatically or manually. The innRoad API integration syncs guest and reservation details from innRoad into Akia.
The more data Akia receives, the more you can personalize your guest messages and automation workflows. innRoad sends reservation details such as balance, deposit, tax, party size and rate plan.
This article covers the innRoad side of the Akia integration.

For help with Akia features such as automations, Mini Apps and message templates, contact Akia support or visit the Akia Help Center.
Prerequisites
- An Akia account, set up with Akia
- An Akia subscription, added to your innRoad account
Connect innRoad to Akia
Follow these steps once to link your innRoad property to your Akia property.
- Log in to your innRoad account.
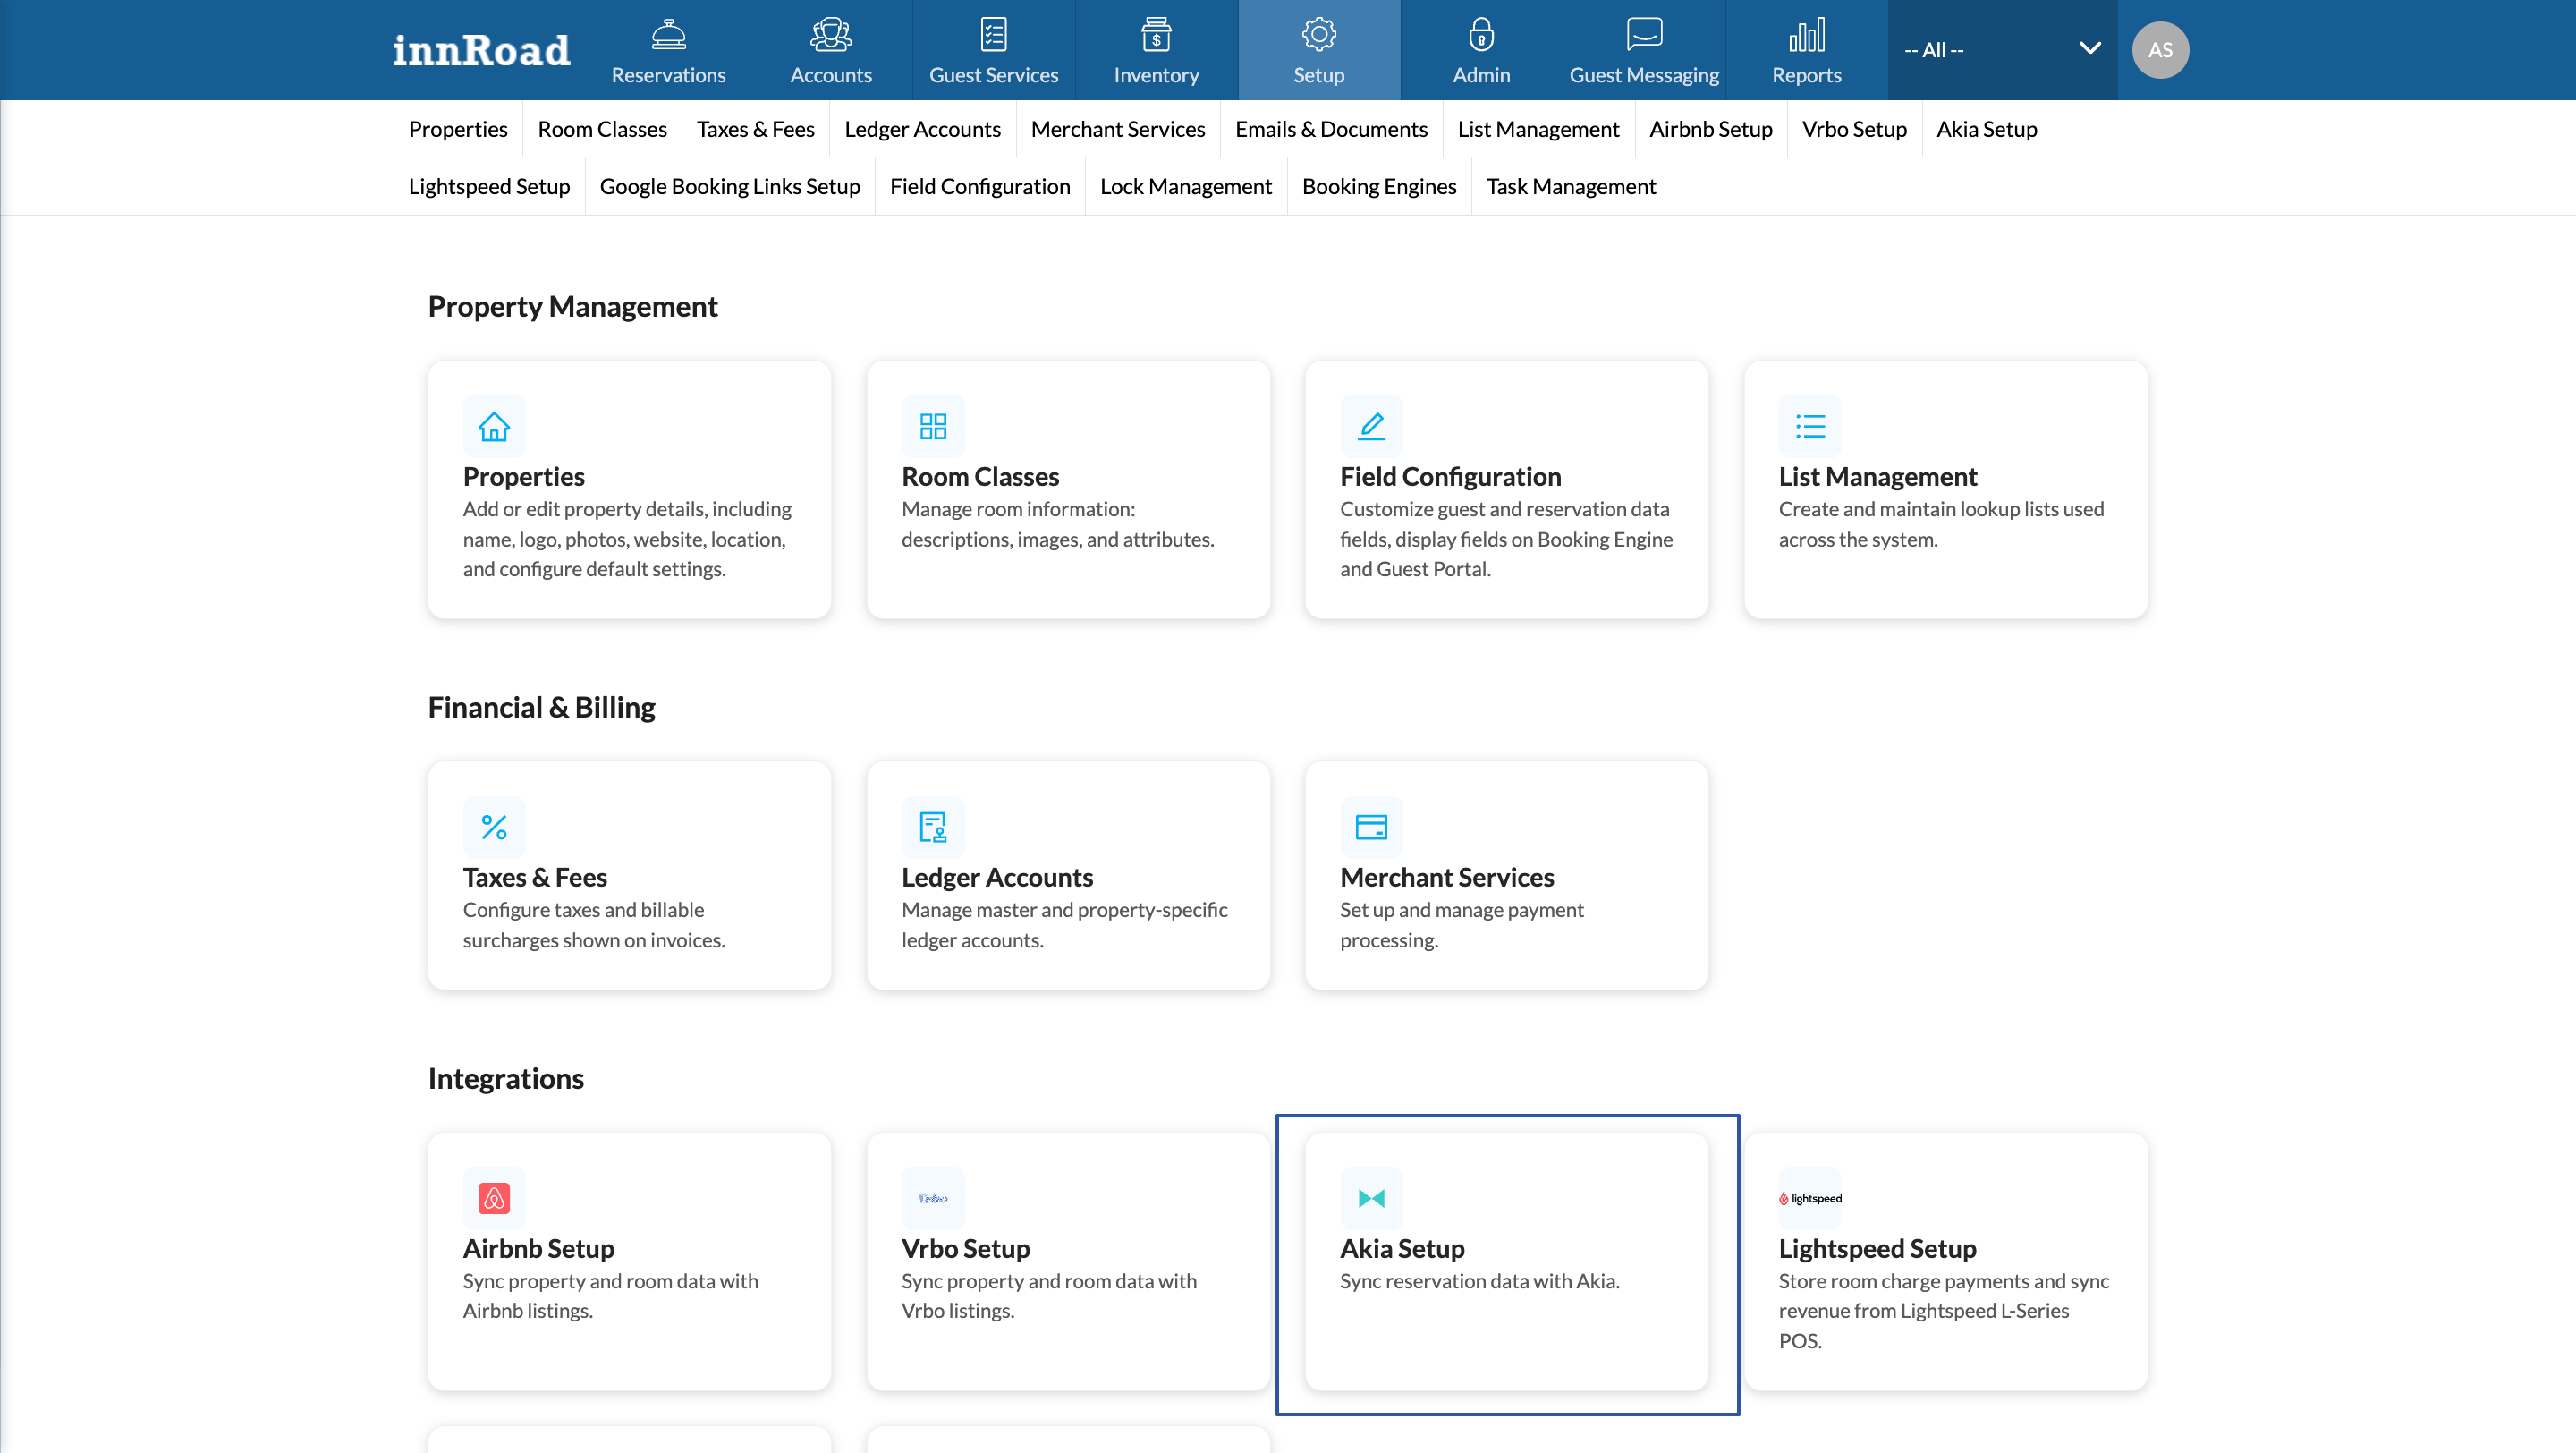
- Go to Setup.
- Click Akia Setup.
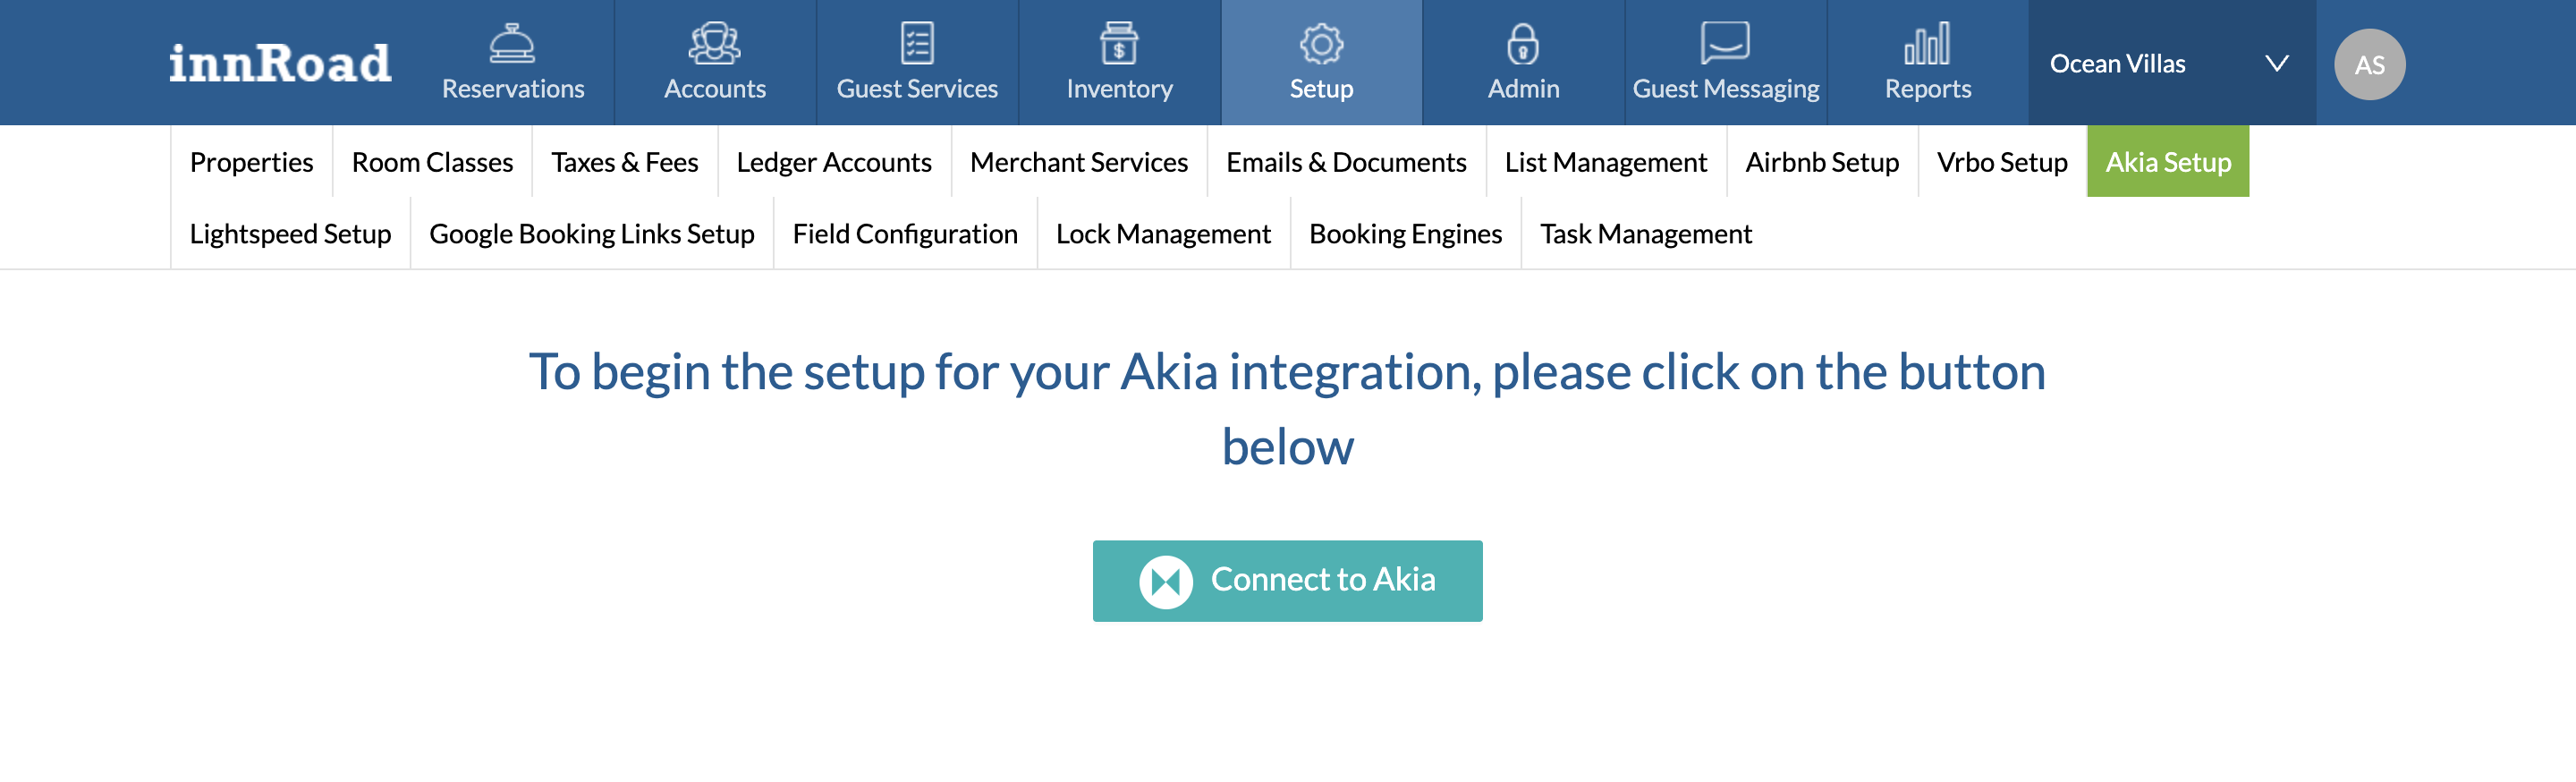
- Click Connect to Akia.
- Enter your Akia Username and Password.
- Click Allow to grant innRoad access to send and receive data from Akia.
- Select the Akia property to send data to.
- Click Continue.
- Click Sync Reservations to send all current and future reservations to Akia.
innRoad is now sending guest and reservation details to Akia.
Note: After the initial sync, the integration sends updates in real time. This includes changes to stay details, reservation status and guest information.
Reservation Data Sent to Akia
The following values are sent automatically with every reservation. No setup is needed in Akia to start using them.
| Akia Field | innRoad Value | Description |
|---|---|---|
| Guest Name | Primary Guest name | The primary guest's name. |
| Guest's Phone | Primary guest's phone number | The phone number of the priamry guest. |
| Guest's Email | Primary guest's email address. | The primary guest's email address. |
| Room Type | Room Class name | The room class of the room assigned to the reservation. |
| Booking Source | Reservation Source | How the reservation was booked, for example Website, Phone, Walk-In or an OTA. |
| Balance Due | Current balance | The amount the guest still owes on the reservation. |
| Deposit | Initial deposit payment | The deposit paid for the reservation. |
| Total Payment | Total amount paid | The total amount paid on the reservation so far. |
| Tax | Total tax amount | The total tax charged on the reservation. |
| Party Size | Number of adults + children | The total number of guests on the reservation. |
| Rate Code | Rate Plan name | The rate plan used for the reservation. |
| Notes | Reservation notes | Notes added to the reservation in innRoad. |
Custom Fields
Some values are sent to Akia as Custom Fields. Unlike standard data, custom fields do not start syncing on their own. Each field must be activated in Akia once.
| Custom Field | Where It Comes From in innRoad | Who Receives It |
|---|---|---|
| Account Name | The Corporate or Group Account linked to the reservation in the Account Info field. | All properties using Akia |
| Account Number | The account number of the Corporate or Group Account linked to the reservation. | All properties using Akia |
| RemoteLock PIN | The door access PIN generated for the reservation by the RemoteLock integration. | Only properties using the RemoteLock integration |
Note: If a reservation is not linked to an account, or no RemoteLock PIN has been generated, the field is empty in Akia for that reservation.
Before You Begin
The Custom Fields page must be enabled for your Akia account. Log in to Akia and go to Settings > Custom Fields:
If you don't see this page, contact innRoad Support and include the email address you use to log in to Akia. We will make sure the feature is enabled for your account.
Step 1: Find the New Custom Fields in Akia
In Akia, go to Settings > Custom Fields and open the Custom Fields tab.
Fields sent by innRoad appear in the New Custom Fields Detected section.
Note: New fields can take a few hours to appear in Akia after innRoad sends them for the first time.
Step 2: Activate Each Field
Repeat these steps for Account Name, Account Number and, if you use RemoteLock, RemoteLock PIN.
- Click the field in the New Custom Fields Detected section. The field editor opens.
- Optionally rename the field. If you leave the name as is, Akia uses the name sent by innRoad.
- Select the Object and Type shown in the table below.
- Click Ok.
| Field | Object | Type |
|---|---|---|
| Account Name | Reservation | Text |
| Account Number | Reservation | Text |
| RemoteLock PIN | Reservation | Text |
Tip: Use Text for all three fields, including Account Number and RemoteLock PIN. A Number type can drop leading zeros, which would turn a PIN such as 0472 into 472.
Why Reservation Is the Right Object
Akia lets you attach a custom field to a guest, a room or a reservation. All three innRoad fields belong to a specific reservation:
- The linked account can be different for each stay.
- A new RemoteLock PIN is generated for each reservation.
Step 3: Confirm the Fields Are Active
After you click Ok, the field moves to the Active Custom Fields section and Akia starts pulling in the data from innRoad.
You can now use the fields in Akia automated messages, AI Agent responses and Mini Apps.
Editing Custom Field Values
innRoad is the source of truth for these fields. Do not edit the values in Akia.
- To change the Account Name or Account Number, update the account linked to the reservation in innRoad.
- To change the RemoteLock PIN, update the PIN through the RemoteLock integration in innRoad.
Akia syncs the updated values automatically. You do not need to create or activate the field again.
Note: Changes made to these fields in Akia are not sent back to innRoad.


Was this article helpful?
That’s Great!
Thank you for your feedback
Sorry! We couldn't be helpful
Thank you for your feedback
Feedback sent
We appreciate your effort and will try to fix the article